
The Ultimate 2025 Moving In Checklist For Rental Success: 10 Essential Steps
- Sarah Porter

- Jan 1
- 15 min read
Updated: Jan 4
Moving into a new rental property involves more than just unpacking boxes. A successful tenancy begins with a meticulous move-in process that protects both landlords and tenants. A comprehensive moving in checklist for rental properties is not merely a list of to-dos; it is a strategic tool for setting clear expectations, documenting property conditions, and preventing future disputes. This guide provides a detailed, step-by-step checklist that covers every critical action from initial inspection to final documentation, ensuring a transparent and professional start to the tenancy.
This article moves beyond generic advice to offer a definitive framework for a seamless transition. Whether you are a landlord aiming to protect your investment or a tenant focused on securing your deposit, these ten essential steps will lay the groundwork for a positive and conflict-free rental experience. We'll delve into actionable specifics, providing templates and insights used by experienced property managers to establish a solid foundation from day one. Of course, to truly ensure a flawless transition into your new space, consider preparing with an ultimate move-in cleaning checklist to guarantee the property is pristine before the first box is even opened. This structured approach helps transform a potentially stressful event into a well-managed professional process.
1. Document Move-In Condition with Inspection and Photographic Evidence
A crucial first step in any tenancy is establishing a detailed, undisputed baseline of the property's condition. This involves more than a simple walkthrough; it requires creating a comprehensive written, photographic, and video record before the tenant moves in their belongings. This multi-format documentation serves as legally defensible evidence, protecting both the landlord's asset and the tenant's security deposit.
This process is standard practice for professional property management companies, often using software like Buildium or TurboTenant to systematize inspections. By combining a signed move-in checklist with a rich media archive, you create an unassailable record of the property's state at the start of the lease.
How to Implement This
To build a robust condition report, follow these key steps:
Systematic Photography: Go room by room and take photos from multiple angles. Capture wide shots of each space, then zoom in for close-ups of appliances, fixtures, flooring, and any pre-existing scuffs or damage.
Narrated Video Walkthrough: Record a continuous video tour, narrating what you see. Mention the condition of walls, test appliances to show they are working, and open cabinets and closets. Timestamped video is powerful evidence.
Tenant Acknowledgment: Have the tenant review and sign the written inspection form on move-in day. Include a clause where they acknowledge the accuracy of the accompanying photos and video.
Store all digital files in a secure, cloud-based folder for easy access. This meticulous record is the single most important tool for fairly and accurately handling security deposit dispositions at the end of the tenancy. For a deeper dive, explore these 8 key tips for a move-in property condition checklist.
2. Verify Lease Agreement Signing and Completion
The lease agreement is the legal cornerstone of the tenancy, transforming a prospect into a legally bound resident. Before a single box is moved or a key is handed over, it is essential to ensure this foundational document is fully and correctly executed by all parties. This step formalizes all terms, from rent payment schedules and maintenance duties to specific rules and addendums, creating a clear, enforceable framework that protects both the tenant and the landlord.
Professional property managers and seasoned landlords never allow occupancy without a signed lease. They utilize attorney-reviewed, state-specific templates and often employ digital signature platforms like DocuSign or Adobe Sign to streamline the process. This ensures every required disclosure is included and creates an immutable, time-stamped record of the agreement, which is a critical part of a comprehensive moving in checklist for rental properties.
How to Implement This
To ensure a legally sound and fully executed lease, follow these best practices:
Use State-Specific Templates: Always use a lease agreement drafted or reviewed by a legal professional that complies with your specific state and local landlord-tenant laws. This prevents unenforceable clauses.
Initial Every Page: Have the tenant initial the bottom of each page. This simple action provides strong evidence that they have received and reviewed the entire document, not just the signature page.
Include All Addendums: Attach and have the tenant sign all necessary addendums, such as those for pets, lead-based paint disclosures, HOA rules, or specific property-use policies.
Secure Digital and Physical Copies: Store the original signed lease in a secure location and maintain a high-quality digital backup in a cloud-based folder. Provide the tenant with a complete, signed copy for their records.
3. Conduct Utility Account Transfer and Meter Reading Documentation
A seamless utility transfer is a critical, yet often overlooked, part of a professional tenant onboarding process. This step involves more than just having the tenant "set up their accounts"; it requires proactive coordination to formally transition services like electricity, gas, water, and sewer into the new tenant's name. This process establishes a clear financial start date, preventing billing disputes and ensuring the landlord is not held responsible for the tenant's consumption.
Documenting initial meter readings with time-stamped photos provides definitive proof of usage start points. This simple action can preemptively resolve security deposit disputes over final utility bills, which commonly range from $200 to $500. This is a standard procedure for property managers who use online utility management portals to track account transfers and maintain records, ensuring a clean financial handoff for every tenancy.

How to Implement This
To execute a smooth and verifiable utility transfer, follow these key steps:
Coordinate in Advance: Instruct the tenant to schedule the utility transfer at least one week before their move-in date to avoid service interruptions.
Document Meter Readings: On move-in day, take clear, time-stamped photographs of every utility meter (electric, gas, water). This creates an indisputable starting point for billing.
Verify Account Status: As a landlord, you can contact the utility providers to confirm the previous account has a zero balance and that the new account has been successfully established in the tenant's name.
Keeping this documentation alongside the lease agreement provides a clear record of financial responsibility. This proactive step is an essential part of any comprehensive moving in checklist for rental properties, safeguarding against future liabilities and ensuring a professional start to the tenancy.
4. Review and Collect Required Documentation from Tenant
A complete and verified tenant file is the administrative backbone of a successful tenancy. This step involves collecting and organizing all necessary documentation before the tenant receives the keys, ensuring legal compliance, mitigating risk, and preparing for any potential future disputes or emergencies. A meticulously organized file is a hallmark of professional property management and is essential for maintaining order.
Professional property management firms use secure portals within systems like AppFolio or Buildium to manage this process, ensuring all documents are collected and stored according to data privacy regulations. This systematic approach transforms tenant onboarding from a simple handshake into a formal, legally sound business transaction, protecting the owner’s investment and ensuring all regulatory requirements, like those under the Fair Credit Reporting Act (FCRA), are met.
How to Implement This
To build a comprehensive and compliant tenant file, follow these key steps:
Standardize Your Document Checklist: Create a consistent checklist for every tenant. This should include a signed lease agreement, proof of identity (e.g., driver's license), proof of income (e.g., pay stubs), and emergency contact information.
Secure Document Storage: Store all documents in a secure, locked physical location or an encrypted, password-protected digital system. Adhere to a strict document retention policy, keeping records for at least 3-7 years post-tenancy, depending on local regulations.
Verify at Lease Signing: Use the lease signing appointment to collect all outstanding documents. Personally verify that the identification provided matches the individual signing the lease to prevent fraud.
Properly collecting and storing this information is a critical part of the a comprehensive moving in checklist for rental and sets the stage for a professionally managed tenancy. For a complete guide on what to look for during the application phase, learn more about how to screen potential tenants the right way.
5. Walk Through Property with Tenant and Address Maintenance Needs
A joint property walkthrough is a proactive communication tool that sets the foundation for a successful tenancy. Beyond simply documenting the property's state, this collaborative tour allows the landlord or property manager to explain essential systems, clarify maintenance responsibilities, and address any immediate repair needs with the tenant present. This hands-on orientation prevents future misunderstandings and costly, preventable maintenance calls.
This practice is a hallmark of experienced property managers who understand that tenant education is key to property preservation. By demonstrating how to operate the thermostat, explaining the limitations of the garbage disposal, or showing the location of the main water shut-off valve, you empower the tenant to be a responsible steward of the property.

How to Implement This
To conduct an effective and comprehensive walkthrough, follow these key steps:
System Demonstrations: Physically demonstrate the operation of all major systems. This includes the HVAC thermostat, all kitchen appliances, circuit breakers, and main water/gas shut-off valves. This minimizes user-error service calls.
Clarify Responsibilities: Clearly state which maintenance tasks are the tenant's responsibility (e.g., changing HVAC filters, lawn care) and which are the landlord's. This is a critical part of any moving in checklist for rental properties.
Document and Prioritize: As you walk through, use the signed inspection form to note any new items that require repair. Agree on a timeline for these fixes with the tenant and provide it in writing to manage expectations.
Provide the tenant with emergency contact information for after-hours maintenance issues and a property manual or video guide that they can reference later. This proactive approach not only resolves issues before they escalate but also builds a positive landlord-tenant relationship from day one.
6. Establish Clear Communication Protocols and Emergency Procedures
Setting clear, consistent communication channels from day one is fundamental to a smooth and professional landlord-tenant relationship. This involves creating a defined system for all interactions, from routine maintenance requests to urgent emergencies, ensuring tenants know exactly how to reach you and what to expect in response. A well-defined protocol minimizes confusion, builds trust, and provides a clear record of all correspondence.
Leading property management firms institutionalize this process using platforms like AppFolio or Buildium, which centralize communication through tenant portals. This strategy not only streamlines operations but also creates a documented, time-stamped log of every message, request, and payment, which is invaluable for resolving disputes and maintaining a professional record as part of any comprehensive moving in checklist for rental.
How to Implement This
To build an effective communication framework, follow these key steps:
Provide a Written Protocol: At move-in, give tenants a document outlining all procedures. Specify how to submit non-emergency maintenance requests (e.g., via a tenant portal), how to pay rent, and who to contact for different issues.
Define Emergency vs. Non-Emergency: Clearly list what constitutes a true emergency (e.g., major flood, fire, gas leak) versus a non-urgent repair. Provide a separate, dedicated 24/7 emergency contact number for life or property-threatening situations.
Set Response Expectations: Inform tenants of your target response times. For example, acknowledge non-emergency requests within 24 business hours and provide a resolution timeline. This manages expectations and demonstrates professionalism.
By establishing these rules at the outset, you prevent frantic late-night calls for minor issues and ensure critical problems are reported through the proper, most efficient channels. For more on this, consider the best practices outlined by professional property management associations.
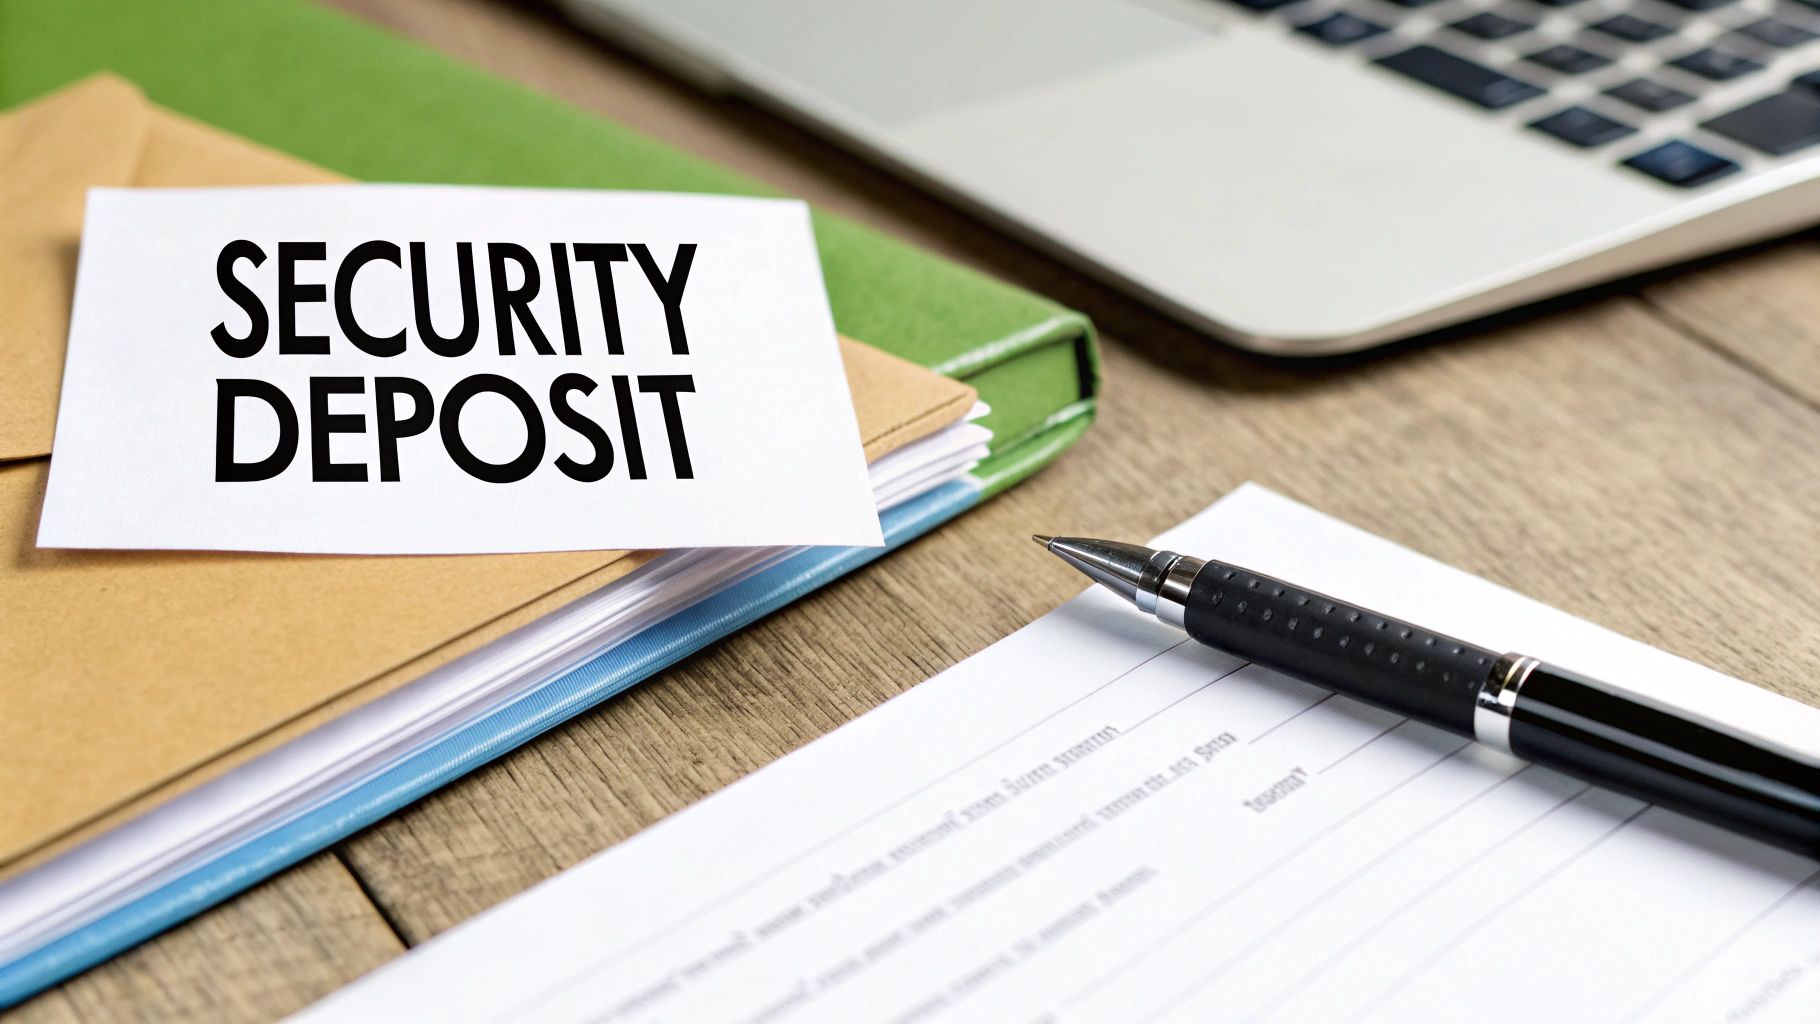
7. Process and File Security Deposit with Documentation
Properly handling the security deposit is a foundational legal and financial responsibility for any landlord. This process involves more than just collecting a check; it requires strict adherence to state and local laws regarding holding, documenting, and eventually returning these funds. A disciplined approach protects both the landlord from significant legal penalties and the tenant’s financial interest, setting a professional tone from day one of the lease.
This procedure is a non-negotiable standard for property management firms, which often use accounting software to maintain separate, non-commingled trust accounts for tenant deposits. This ensures compliance with jurisdictional requirements, which can impose fines of $500 to over $2,000 for improper handling, and simplifies the final disposition process.
How to Implement This
To ensure full compliance and transparency, follow these critical steps:
Establish a Separate Account: Open a dedicated bank account solely for holding tenant security deposits. Never commingle these funds with your personal or business operating accounts.
Provide Written Documentation: Immediately issue a detailed receipt to the tenant specifying the deposit amount, date received, and the name and address of the financial institution where it is held.
Adhere to Local Laws: Research your state’s specific rules on maximum deposit amounts, interest requirements, and the timeline for returning the funds after move-out. These regulations vary widely.
Maintaining meticulous records of the deposit from collection to return is a crucial part of any comprehensive moving in checklist for rental management. This diligence prevents disputes and ensures you understand what a landlord can legally deduct from a security deposit.
8. Establish Maintenance and Repair Request Procedures
A proactive and transparent maintenance process is fundamental to maintaining property value and ensuring tenant satisfaction. Establishing a formal system for how tenants report issues moves this critical function from an unpredictable, text-based exchange to a structured, trackable workflow. This system should clearly define how to submit requests, how urgency is classified, and what tenants can expect for response times.
Professional property management relies on these systems to maintain a clear audit trail and ensure compliance with habitability laws. Using software like AppFolio or Rent Manager centralizes requests, automates communication, and provides data on recurring issues. This structured approach prevents minor problems from escalating into costly repairs and solidifies the landlord-tenant relationship by demonstrating responsiveness and care.
How to Implement This
To build an effective maintenance protocol, follow these key steps:
Define Submission Channels: Designate an official method for non-emergency requests, such as an online tenant portal or a dedicated email address. Provide a separate, clearly communicated 24/7 phone number for emergencies like major leaks or heating failures.
Set Clear Expectations: In the lease or a move-in packet, define what constitutes an "emergency" versus a "routine" request. Outline target response times, such as acknowledging routine requests within 24 business hours and dispatching for emergencies immediately.
Require Detailed Reports: Instruct tenants to provide a detailed description and photos or a short video of the issue when they submit a request. This information allows for faster diagnosis and helps you send the correct contractor with the right tools on the first visit.
Store all communications and work orders within your management system. A well-documented maintenance history is invaluable for managing property assets, demonstrating legal compliance, and making informed decisions about future capital improvements. This is a crucial part of any comprehensive moving in checklist for rental management.
9. Provide Tenant with Required Disclosures and Informational Documents
Beyond the lease agreement, legal compliance requires providing tenants with a specific set of disclosures and informational documents. This step is a critical part of a professional move-in process, ensuring tenants are fully aware of their rights, responsibilities, and any property-specific conditions. Neglecting this can lead to significant legal penalties, voided lease clauses, and weakened positions in potential landlord-tenant disputes.
Failing to provide mandatory paperwork, such as the federal lead-based paint disclosure for properties built before 1978, is not just a clerical error; it's a violation of federal law. A comprehensive moving in checklist for rental properties must include a section for verifying receipt of these documents, creating a clear and defensible paper trail that protects both parties and establishes a transparent tenancy from day one.
How to Implement This
To ensure full compliance and properly inform your tenants, follow these essential steps:
Assemble a Disclosure Packet: Before move-in day, compile all required federal, state, and local documents. This includes the EPA's "Protect Your Family from Lead in Your Home" pamphlet, state-specific tenant rights guides, and any required mold or bed bug disclosures.
Include Property-Specific Information: If the rental is part of a homeowners' association (HOA), you must provide a copy of the HOA rules, regulations, and bylaws. Also include building-specific information like emergency evacuation procedures.
Obtain Signed Acknowledgment: The final and most crucial step is to have the tenant sign a separate form or an addendum acknowledging they have received each specific document. Keep these signed acknowledgments with the lease agreement.
Storing these signed forms digitally in the tenant's file provides indisputable proof of compliance, which is invaluable for risk management and maintaining a professional landlord-tenant relationship.
10. Schedule Move-Out Inspection Timeline and Confirm Understanding
A successful tenancy concludes as meticulously as it begins. Establishing clear expectations for the move-out process at the time of move-in is a proactive strategy to prevent end-of-lease disputes. This involves outlining the entire move-out timeline, from notice requirements to the final security deposit reconciliation, ensuring the tenant understands their responsibilities from day one.
This forward-thinking approach is a hallmark of professional property management, designed to ensure a smooth transition and protect the owner's asset. By providing a detailed move-out packet alongside the lease agreement, you replace ambiguity with a clear, mutually understood procedure. This simple step is a critical part of any comprehensive moving in checklist for rental properties, setting the stage for a respectful and transparent landlord-tenant relationship.
How to Implement This
To formalize the move-out process from the start, follow these key steps:
Provide a Move-Out Packet at Lease Signing: Include a detailed checklist that specifies cleaning standards (e.g., professionally cleaned carpets, wiped-down baseboards), and defines the difference between normal wear and tear and chargeable damage.
Outline the Timeline in the Lease: Your lease agreement should explicitly state the required notice period (typically 30-60 days), the window for conducting the final inspection (e.g., within 48 hours of vacancy), and the state-mandated deadline for returning the security deposit and any itemized deductions.
Establish Communication Protocols: Clearly explain how and when the tenant should schedule their final walkthrough. To maintain consistency and document everything thoroughly, consider using standardized move-out inspection templates for every property turnover.
By clarifying these procedures upfront, you minimize confusion and significantly reduce the likelihood of security deposit disputes, ensuring a professional conclusion to the tenancy.
10-Point Rental Move-In Checklist Comparison
Item | Implementation Complexity 🔄 | Resource Requirements ⚡ | Expected Outcomes 📊 | Key Advantages ⭐ | Tips 💡 |
|---|---|---|---|---|---|
Document Move-In Condition with Inspection and Photographic Evidence | High — multi-media inspection, signatures, organization | High — time, camera/360/drone, cloud storage | Strong visual baseline; fewer deposit disputes; faster claims resolution | Indisputable evidence; legally defensible inventory | Use timestamps/geolocation; have tenant sign same day |
Verify Lease Agreement Signing and Completion | Medium — legal review and execution steps | Medium — attorney-reviewed templates, signature platform | Enforceable contract; clarified obligations and fees | Clear legal protection; reduces disputes and eviction friction | Use state-specific templates; have tenant initial each page |
Conduct Utility Account Transfer and Meter Reading Documentation | Low–Medium — coordination with providers and photos | Low — phone/online setup, photo documentation | Clear utility responsibility; prevents inherited bills | Prevents landlord liability; baseline meter records | Photograph meter readings with timestamp; start transfers 1 week prior |
Review and Collect Required Documentation from Tenant | Medium — verification and secure handling | Medium — secure portals, screening services, storage | Verified identity/income; compliance and emergency contacts | Reduces fraud; enables rapid contact and screening audit trail | Use encrypted portals; keep retention policy and restricted access |
Walk Through Property with Tenant and Address Maintenance Needs | Medium–High — guided demo, documentation of repairs | Medium — staff time, minor repair coordination, photos | Educated tenant; documented pre-existing issues; fewer emergency calls | Prevents misuse; builds rapport; documents landlord responsibilities | Provide written/manual or video; demonstrate systems and locations |
Establish Clear Communication Protocols and Emergency Procedures | Medium — set channels, response SLAs, training | Medium — tenant portal, ticketing, phone line | Faster response times; documented communication for disputes | Improves satisfaction and retention; reduces liability | Publish protocol at move-in; set clear response timeframes |
Process and File Security Deposit with Documentation | Medium — legal compliance and accounting setup | Low–Medium — separate accounts, bookkeeping | Regulatory compliance; clear refund/deduction trail | Protects tenant funds; reduces litigation risk | Segregate accounts, issue receipts immediately, document deductions |
Establish Maintenance and Repair Request Procedures | Medium — triage, ticketing, contractor workflows | Medium–High — software, contractor network, tracking | Timely repairs; audit trail; trend identification | Reduces emergencies; tracks costs; improves tenant experience | Define emergency vs non‑emergency; require photos and confirm completion |
Provide Tenant with Required Disclosures and Informational Documents | Medium — compile jurisdiction-specific packets | Low–Medium — document templates, signed acknowledgments | Legal compliance; informed tenants; reduced disputes | Demonstrates compliance; evidence in litigation | Create customized packet per property; get signed acknowledgments |
Schedule Move-Out Inspection Timeline and Confirm Understanding | Low–Medium — scheduling, checklist distribution | Low — documentation and scheduling tools | Clear move-out expectations; faster turnover; fewer disputes | Streamlines transition; supports deposit reconciliation | Give checklist at move-in; photograph move-out for comparison |
From Checklist to Confidence: Securing Your Rental's Future
Navigating the tenant move-in process can feel like a complex puzzle with countless moving parts. However, as we've detailed, a systematic approach transforms potential chaos into a structured, professional, and mutually beneficial start to a new tenancy. This comprehensive moving in checklist for rental properties is far more than a simple to-do list; it is a strategic framework designed to protect your investment, establish clear expectations, and cultivate a positive landlord-tenant relationship from the very first day.
By meticulously documenting the property's condition with photos and a detailed inspection form, you create an indisputable baseline that safeguards against future disputes over the security deposit. Similarly, ensuring all lease agreements are fully executed, required tenant documentation is collected, and utility transfers are confirmed prevents administrative headaches and financial liability down the line. Each step, from establishing clear maintenance request procedures to providing mandatory disclosures, reinforces your role as a diligent and professional property owner.
Key Takeaways for Proactive Property Management
The true value of this checklist lies in its proactive nature. Instead of reacting to problems as they arise, you are actively preventing them.
Documentation is Your Defense: A well-documented move-in, including signed forms, photographic evidence, and recorded meter readings, is your strongest asset in any potential disagreement. It replaces ambiguity with objective fact.
Clarity is Kindness: Establishing transparent communication protocols, emergency procedures, and maintenance request systems from the outset eliminates confusion and shows tenants you are organized and responsive.
Compliance is Non-Negotiable: Adhering to legal requirements for security deposit handling and providing necessary disclosures isn't just good practice; it's essential for avoiding costly legal challenges and penalties.
Ultimately, mastering this process is about shifting from a landlord who simply rents out a space to an investor who expertly manages an asset. The initial investment of time and attention to detail during the move-in phase pays significant dividends throughout the entire tenancy. It reduces turnover, minimizes disputes, encourages tenants to take better care of the property, and solidifies your reputation as a top-tier landlord. This foundation of trust and professionalism is what separates a stressful rental experience from a successful and profitable one.
Ready to elevate your property management without adding to your workload? The team at Keshman Property Management has spent over 20 years perfecting the move-in process, implementing these best practices daily to protect owner investments. Let us handle the checklists, the documentation, and the details so you can enjoy the benefits of your rental property, stress-free. Visit Keshman Property Management to learn how our expertise can secure your asset's future.


Comments